
Cloud mining
Rent a miner
Choose a duration and complete an ASIC rental checkout.
Use Cloud Mining Store to choose a mining network, select a hardware card, and prepare a rental order. Complete each step below and review the server-calculated quote before payment.
1. Choose a mining network

Select the network at the top of Cloud Mining Store. BTC Mine lists Bitcoin hardware, XMR Mine lists Monero hardware, and ZEC Mine lists Zcash hardware. Then review a miner card’s model, hashrate, power use, earnings estimate, rental price, and available quantity.
2. Set the quantity
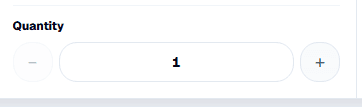
Choose at least one miner without exceeding the inventory available on that card. Income, electricity, profit, rental total, and period estimates are recalculated for the selected quantity.
3. Choose the rental duration
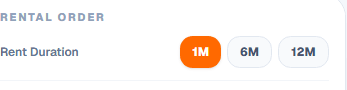
Choose a one-month, six-month, or twelve-month contract. The server uses the selected duration and quantity to calculate the rental price, payback period, and estimated net-profit period.
4. Continue to checkout
Proceed Rent opens the confirmation window for the miner card you selected. Your order is not paid or activated at this stage.
5. Review and confirm the order
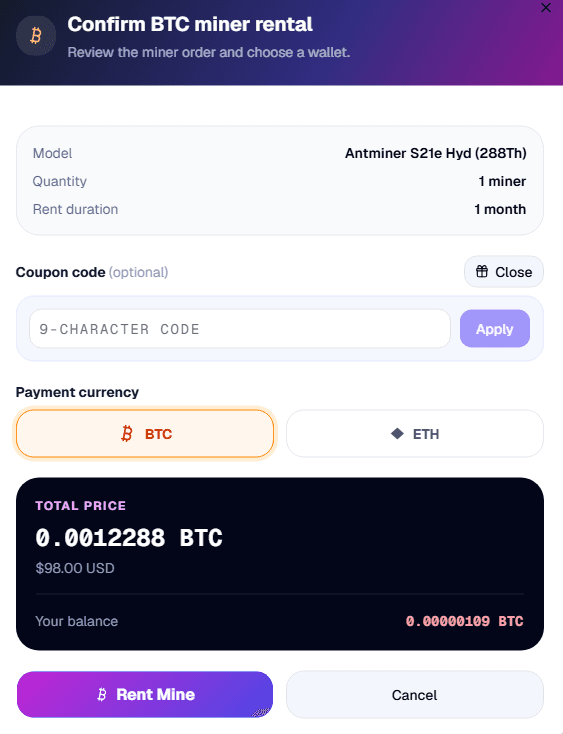
- 01
Verify the order
Confirm that the model, miner quantity, and rental duration match your selection.
- 02
Apply a coupon if available
Open Coupon code, enter the nine-character code, and select Apply. The discounted total is recalculated before payment.
- 03
Choose BTC or ETH
Select the wallet asset you want to use. The server converts the final USD price into the selected cryptocurrency.
- 04
Check the total and balance
Compare the crypto amount, USD value, and available wallet balance. Add funds first if the balance is insufficient.
- 05
Complete the rental
Select Rent Mine to submit payment. A valid coupon is consumed only after the purchase succeeds; closing or cancelling checkout does not use it.